
How to use compression on a drum track
Apr 8, 2022
Using compression on a drum track can help to even out the levels of the individual drum sounds and make the overall drum mix sound more cohesive and punchy. Here are some general steps to follow when using compression on a drum track.
Choose and set up your compressor
Choose a compressor plugin and insert it on the drum track in your DAW (digital audio workstation). There are a lot of compressor plugins nowadays, free and paid. All the major DAWs also have their own stock plugins, and they all include Compressors (usually they are under the Dynamics category). If you are looking for a particular kind of sound, there are also plugins for sale that have more features than the stock plugins or usually try to emulate vintage gear, to bring a different tone to the mix. If you want to buy a plugin, our recommendation is for you to try it first. The majority of companies will allow you to trial and experiment with the plugin before buying it. Almost all compressors have a range of identical settings that you can tweak to shape the sound.

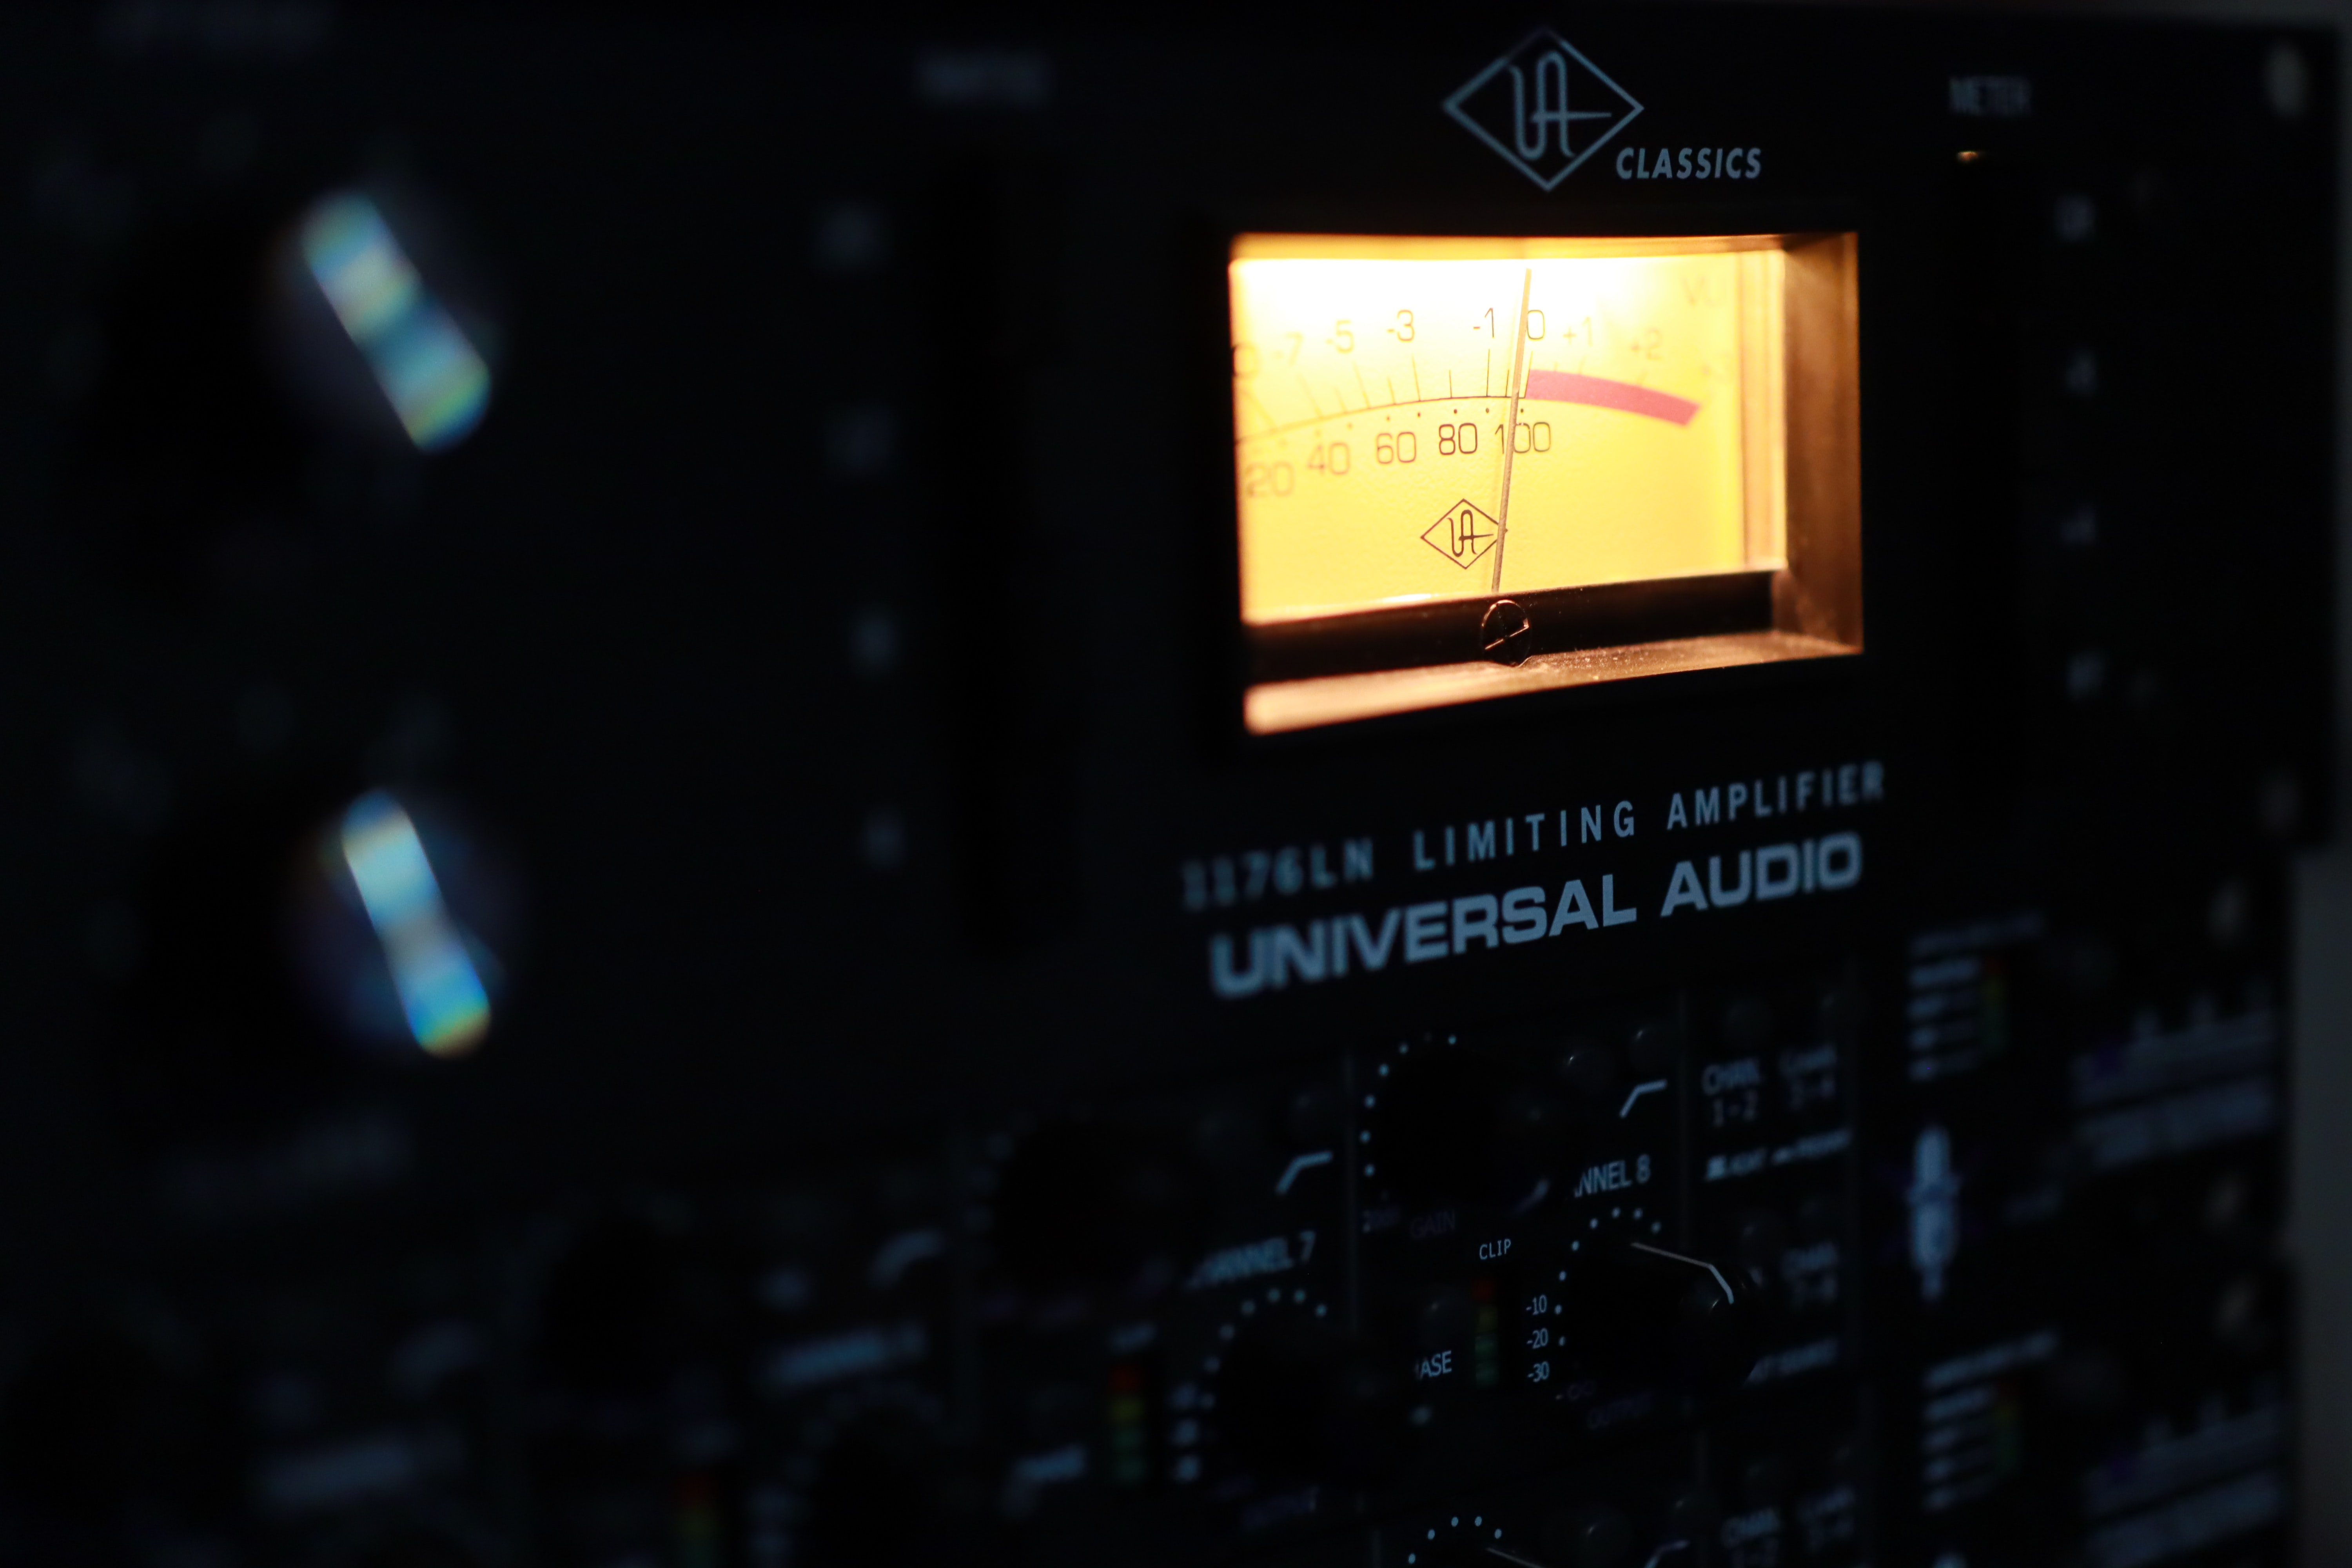
After applying the compressor to the audio or midi track, start adjusting the settings such as ratio, attack, release, and threshold to taste. Make sure the input gain is not clipping (hitting the red marker) and after compressing the audio, adjust the output gain to compensate for the compressed signal (which will lower the overall sound of the track).
Find the right threshold
Start with a relatively high threshold and gradually lower it until you hear the compressor start to work. The threshold is the level at which the compression will start to take effect. Just make sure that the Ratio is higher than 1:1, or else it is not compressing any signal. Usually, you would want something between 0dB and 6dB of compression. Higher than that, and the compressor might start to introduce some artifacts into the sound unless you are doing it on purpose as an effect or parallel compression (but that would make a whole different post). Experiment, and ultimately, the sound is the source of truth, if it sounds good, don't worry too much about the settings used.
Adjust the ratio
The ratio controls the amount of compression applied to the audio above the threshold. A high ratio (e.g. 10:1) will result in more compression and a lower ratio (e.g. 2:1) will result in less compression. The first number represents the number of dB's attenuated from the signal in relation to the second number. 1:1 is no compression at all.
Adjust the attack
The attack controls how quickly the compressor starts to compress the audio after it exceeds the threshold. A fast attack will result in more immediate compression, while a slow attack will allow the initial transient of the drum hit to pass through before the compression takes effect.
Adjust the release
The release controls how quickly the compressor stops compressing the audio after it drops back below the threshold. A fast release will result in the compression stopping quickly, while a slow release will result in the compression continuing for a longer period of time.
Fine-tune and listen in context
Listen to the compressed drum track in context with the rest of the mix and make any necessary adjustments to the settings.
It's worth noting that this is a general guide, and different types of drum tracks may require different approaches. Experimentation is key and it's also important to use your ears and listen to what sounds good in the context of the whole mix. If you struggle with understanding compression, try out Midicircuit. Midicircuit is a Music Learning application, that teaches you how to use your MIDI instrument, and concepts such as music theory and chord progression.
Tiago Inácio
